Why Proper and Regular Chain Maintenance is Crucial
Proper and regular chain maintenance is crucial for several reasons. First, it helps extend the life of a bike chain. When a chain is clean, degreased, and lubed, it experiences less friction and wears down more slowly, saving the cyclist from having to replace it frequently.
Another reason is that it improves bike performance. A well-maintained chain operates more efficiently, resulting in smoother gear shifts and an overall better riding experience. Dirty and poorly lubricated chains are more likely to slip, making cycling harder and potentially damaging the gears.
Regular chain maintenance also helps prevent rust and corrosion. When moisture gets trapped between the chain’s metal components, it can cause rust to form. Cleaning, degreasing, and applying lubricant to the chain helps remove moisture and provide a protective barrier against rust.
Lastly, a properly maintained chain helps ensure the safety of the cyclist. A faulty bike chain can lead to accidents, especially if it snaps or slips during a ride. Regular maintenance reduces the risk of such incidents and contributes to a safer ride.
Keeping a bike chain in good working condition is a relatively simple process, yet its impact on performance, safety, and longevity cannot be overstated.
Initial Steps
In this section, we’ll go through the initial steps of cleaning, degreasing, and lubing a bike chain. These include gathering supplies, assessing chain condition, and deciding whether to remove the chain or not.
Gather Supplies
Before getting started, it’s essential to gather all the necessary tools, cleaning agents, and lubricants. Here’s a list of items you might need:
- Chain cleaning tool or brush
- Degreaser
- Chain lubricant
- Rags or paper towels
- Bucket
- Water
There are various chain cleaning tools available on the market, ranging from simple brushes to advanced chain cleaning devices. Choose one according to your preference and budget.
Assess Chain Condition
Before diving into the cleaning process, assess the chain’s condition. Check if it’s visibly dirty or if there’s a buildup of grease and grime. If it’s relatively clean but just lacking proper lubrication, you may only need to apply some lubricant. However, if there’s a significant amount of dirt and grime, it’s crucial to clean and degrease the chain before lubing.
Remove the Chain (or not)
Some cyclists prefer to remove the chain from the bike to clean it thoroughly. If you decide to do this, be sure to have a chain breaker tool and a quick-link for proper reinstallation. A thorough soaking and scrubbing in a degreaser solution can result in a pristine chain.
However, removing the chain isn’t always necessary, especially if its condition is not too bad. Instead, you can use a chain cleaning device, which allows you to clean the chain without taking it off the bike. These devices clamp onto the chain and have rotating brushes that scrub clean the chain as you pedal. With this method, you can achieve excellent results without the need to remove the chain.
Cleaning and Degrease the Chain
Initial Cleaning
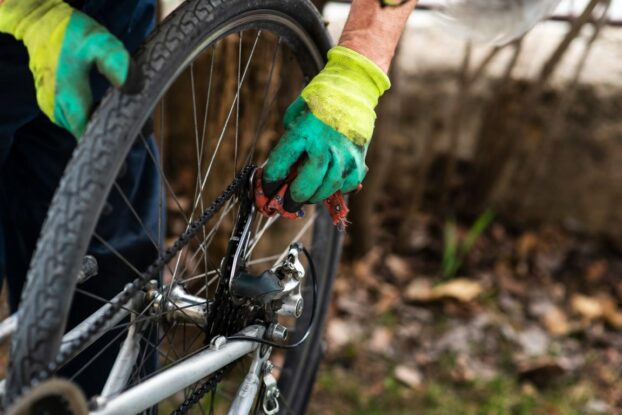
Before working on the chain, it’s important to remove loose dirt and debris that could interfere with the degreasing process. Use a soft brush or cloth to carefully wipe down the chain, taking care to remove any visible grime.
Soak and Scrub
For a thorough clean, it’s best to soak the chain in a degreaser. Remove the chain from the bike using a chain tool, then place it in a degreaser-filled container. Ensure the chain is fully submerged, and let it soak for at least 20 minutes to break down the grease.
After soaking, use a stiff brush or an old toothbrush to scrub the chain thoroughly. Be sure to reach every link and side, breaking up and removing any stubborn grease deposits. You can also use a chain cleaning device, which provides a more efficient and less messy scrubbing experience.
Rinse and Dry
Once the chain is scrubbed clean, it’s time to rinse off the degreaser. Submerge the chain in a container of clean water and agitate it to remove any residue. Repeat this process with fresh water, if needed, until all degreaser is gone.
After rinsing, carefully dry the chain using a clean cloth. Lay the chain out flat or hang it up to ensure it air dries completely. This is crucial in preventing rust and ensuring the best possible performance when the chain is reinstalled on the bike.
Lubricate the Chain
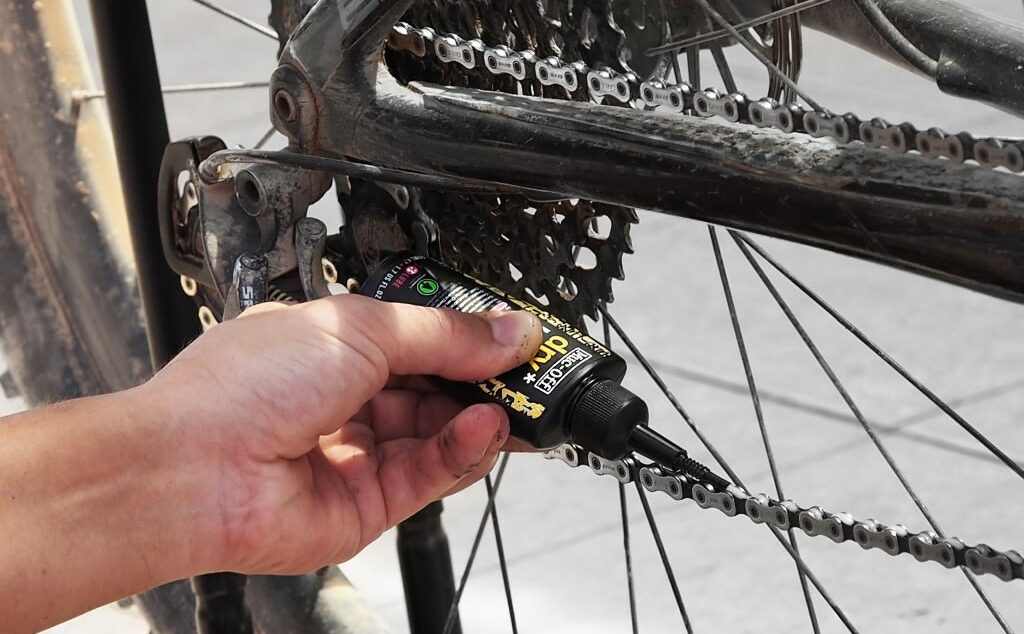
After cleaning and degreasing the bike chain, it’s essential to lubricate it for smooth operation and prolong its lifespan. Choose a lubricant specifically designed for bike chains. These come in various types, such as wet lube for rainy conditions and dry lube for drier environments.
Start by holding the lubricant’s nozzle at the beginning of the chain and apply a steady stream while slowly turning the pedals backward. This ensures even distribution of lubricant across all chain links. It’s important not to apply too much lubricant to avoid attracting dirt and grime.
Leave the lubricant on the chain for a few minutes to allow it to penetrate into the rollers and pins. This ensures proper lubrication of the internal chain components.
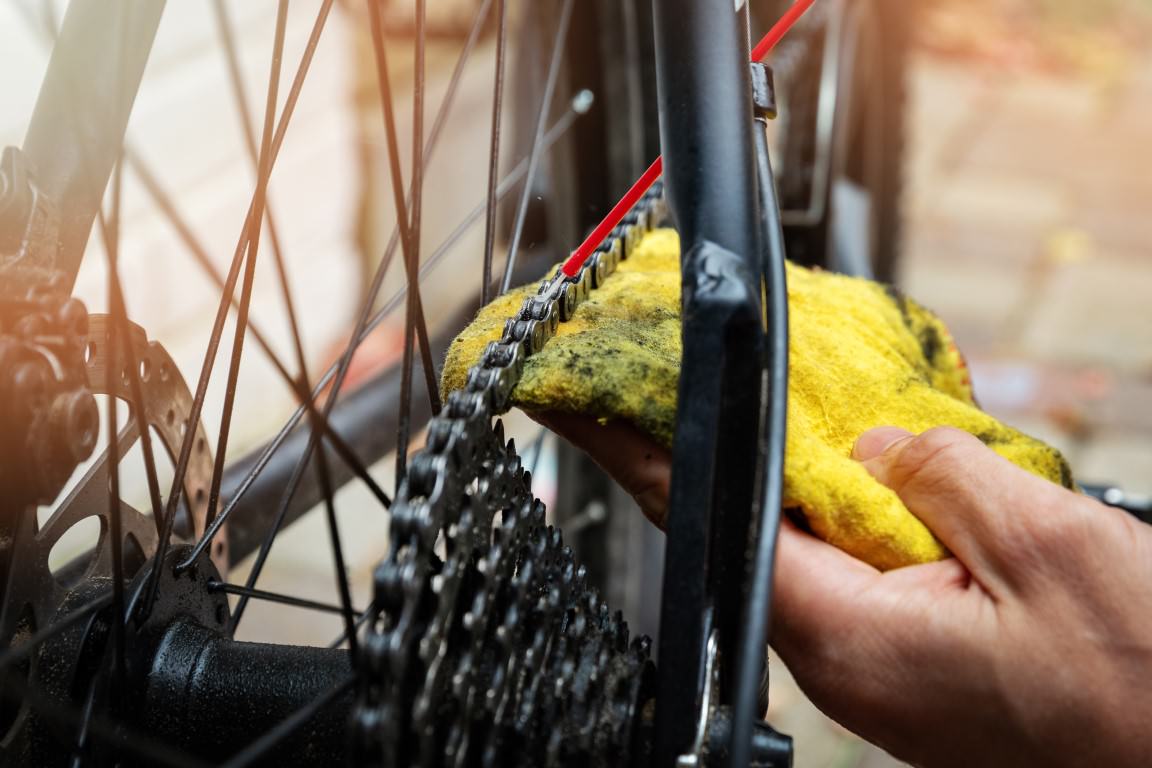
Wipe Excess Lubricant
Excess lubricant on the chain’s exterior can attract dirt and grime. After letting the lubricant settle in for a few minutes, use a clean, dry rag to gently wipe off the chain’s exterior. Turn the pedals backward as you do this to cover the whole chain. The chain should have a light coating of lubricant without excessive buildup.
Reinstall the Chain
Once the chain is clean and dry, it’s time to reinstall it onto the bike. Start by threading the chain around the smallest cog of the rear derailleur and the smallest chainring at the front. Ensure that the chain is properly aligned with the teeth of the gears.
Next, pull the chain taut and guide it through the rear derailleur, making sure it’s properly seated in the jockey wheels. It’s important to thread the chain through the derailleur in the correct order, so follow the manufacturer’s instructions if necessary.
Finally, reconnect the chain using a suitable method for your chain type:
- Quick link: Align the two halves of the quick link and snap them together. Use pliers if needed to fully lock the link in place.
- PIN: Slide the connecting pin into the outer link, aligning it with the holes in both sides. Use a chain tool to press the pin through until it’s flush with the link.
With the chain reinstalled, it’s crucial to check that it’s functioning properly. Shift through all the gears, making sure the chain moves smoothly and there’s no binding or skipping. If you encounter any issues, refer back to the derailleur and chain alignment sections of the manual or seek professional assistance.
Now that the chain is back on the bike, it’s necessary to apply lubricant. Choose a lube that’s suitable for your riding conditions, and apply it sparingly to each link while turning the pedal backwards. Allow the lube to sit for a few minutes, then wipe off any excess with a clean, dry cloth. Your chain is now ready for a smooth, efficient ride.
Clean Up and Dispose of Waste
After degreasing and lubricating the bike chain, it’s important to properly clean up and dispose of waste materials. Dirty rags, used brushes, and any leftover degreaser or lubricant should be taken care of responsibly.
When it comes to dirty rags and brushes, it’s best to wash them with soap and water before reusing or discarding them. Place the rags and brushes in a bucket with warm water and a mild detergent, scrub them thoroughly, then rinse and let them air dry. This will help prevent the spread of grease and other contaminants.
For waste disposal, follow local regulations and guidelines. Here’s a brief list of tips:
- Never pour used degreaser or lubricant down a drain or into the environment.
- Store waste materials in a sealed container until they can be properly disposed of.
- Check if your community has recycling or designated disposal facilities for hazardous materials.
- Consult your local waste disposal agency or recycling center for more information on how to safely handle and dispose of used degreasers and lubricants.
By carefully cleaning up and disposing of waste after each bike chain maintenance session, you’ll ensure a safer, cleaner environment for everyone.
Maintenance Tips
Regular chain cleaning and lubrication are crucial for maintaining a well-functioning bike. It’s essential for the longevity and efficiency of your bike’s chain, ensuring smoother rides and optimal performance. A clean, well-lubricated chain not only minimizes wear and tear but also reduces the likelihood of chain-related accidents.
To keep your bike chain in top-notch condition, it’s recommended to clean and lubricate it every 100 to 200 miles, depending on your riding conditions. Heavy use, such as frequent off-road rides or commutes in muddy or wet environments, may require more frequent maintenance.
Here are some simple yet effective maintenance tips to optimize your bike chain’s performance:
- Inspect the chain regularly: Keep an eye out for signs of wear, rust, or damage. Replace the chain if necessary to prevent more costly repairs.
- Choose the right degreaser: Select a bike-specific degreaser to ensure it effectively dissolves and removes built-up dirt and grime without harming the chain’s components.
- Use a chain cleaning device: Consider investing in a chain cleaning tool to make the process more efficient and thorough.
- Apply the correct lube: Select a lube that’s suitable for your specific riding conditions – wet, dry, or all-purpose. This will enhance the chain’s performance and durability.
- Wipe off excess lube: Gently remove any excess lube from the chain after application to prevent it from attracting dirt and dust.
By regularly cleaning, degreasing and lubing your bike chain, you’ll enjoy smoother rides and prolong your chain’s lifespan. Implement these maintenance tips to keep your chain in excellent condition and your bike adventures hassle-free.