Common Issues with Bike Pump Pressure Readings
Air Leakage
Air leakage is one of the primary reasons for inaccurate pressure readings in bike pumps. It’s essential to inspect the connections and seals for any signs of wear or damage, as these can allow air to escape while you pump. Fixing this issue might involve:
- Checking the hose clamp for tightness
- Examining the valve head and connector for damage
- Replacing O-rings or seals if necessary
Faulty Gauge
A faulty gauge can lead to incorrect pressure readings, making it difficult to determine the right amount of air in your tires. There are a few things you should check for when diagnosing a faulty gauge:
- Ensure the gauge is reading zero when not in use
- Verify the gauge’s calibration with a separate pressure gauge
- Examine the gauge for any visible damage or dirt that may affect its performance
If it’s determined that the gauge is faulty, consider replacing it to ensure accurate pressure readings moving forward.
Broken Pump
Sometimes, the issue might be with the bike pump itself, rendering it unable to generate accurate pressure readings. In such cases, it’s crucial to check for the following:
- Inspect the pump’s internal parts for damage
- Confirm that the pump is generating enough pressure when in use
- Test the pump with another tire to see if the issue persists
Should the pump be broken, repairing or replacing it is the best option to get back on track.
Troubleshooting Steps
If your bike pump is not showing the pressure, there might be a few reasons behind this issue. In this section, we will discuss the troubleshooting steps, including inspecting the valve connection, checking the pump seal, and examining the pressure gauge.
Inspecting the Valve Connection
First, ensure that the valve connection is properly attached to your bike tire valve. A loose connection can result in inaccurate pressure readings or no reading at all. Follow these steps:
- Detach the pump head from the tire valve.
- Check for any dirt or debris inside the pump head.
- Clean the pump head’s inner part, paying close attention to the rubber gasket inside.
- Reattach the pump head to the tire valve, ensuring a snug fit.
If the problem persists, move on to the next troubleshooting step.
Checking the Pump Seal
A damaged or worn-out pump seal can cause air leakage and result in pressure readings being absent or inaccurate. Here’s how to check the pump seal:
- Remove the pump from the bike tire valve.
- Examine the pump seal (a rubber or plastic ring located inside the pump head) for any visible damage or wear.
- If the seal looks worn out or damaged, replace it with a new one compatible with your pump.
After replacing the seal, reattach the pump and check if the issue is resolved. If not, proceed to the next step.
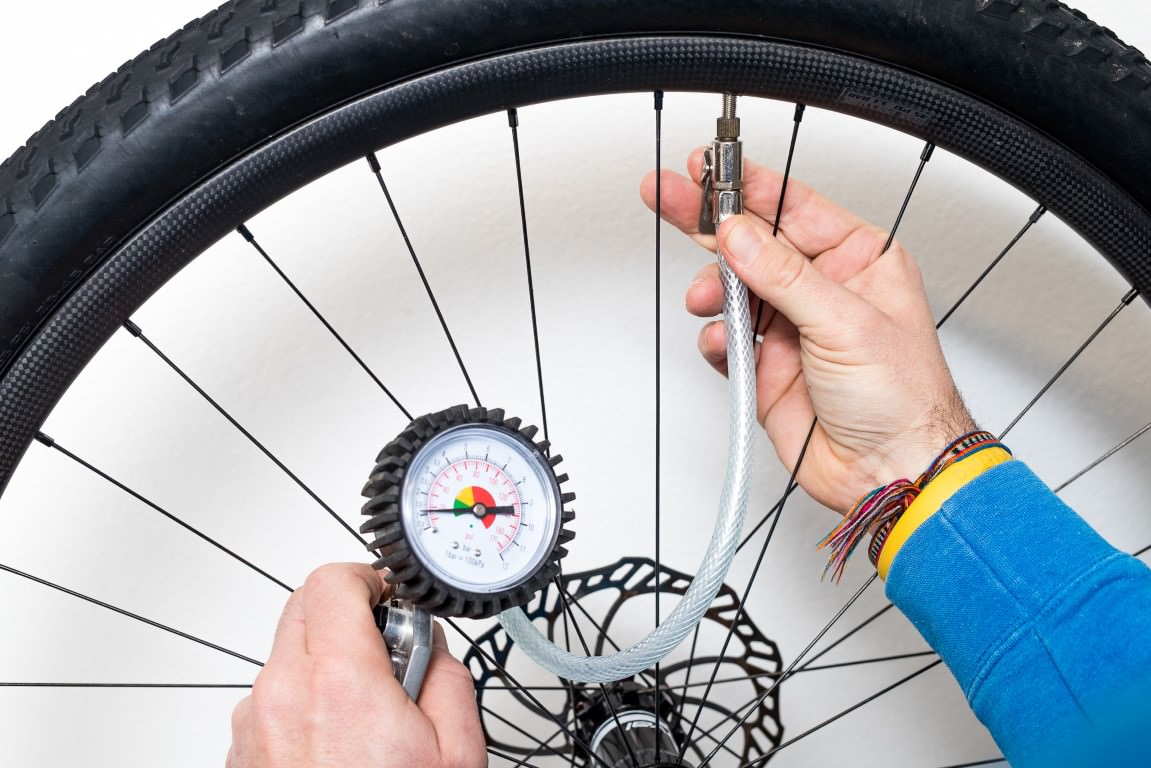
Examining the Pressure Gauge
The pressure gauge is responsible for showing the tire’s pressure. A faulty or damaged pressure gauge might not display accurate readings or any readings at all. To examine the pressure gauge, follow these steps:
- Remove the pump from the tire valve.
- Inspect the pressure gauge for any visible damage or obstructions.
- Ensure that the pressure gauge needle is not stuck or bent. If it appears to be, gently push it back into its correct position.
- If the gauge is visibly damaged, consider replacing it or the entire pump.
After completing these steps, reattach the pump and test the pressure reading again. If the problem still exists, consider consulting with a professional bike mechanic or contacting the pump’s manufacturer for further assistance.
How to Use Pressure Gauge Bike Pumps Correctly
Using a pressure gauge bike pump correctly is essential for maintaining optimal tire pressure and ensuring a smooth ride. Let’s discuss the step-by-step process to use a pressure gauge pump efficiently.
First, ensure that you’re familiar with the right tire pressure for your bike. This information can usually be found on the tire’s sidewall or in the manufacturer’s specifications. Remember that optimal pressure varies depending on the type of bike and the rider’s weight.
Next, identify the type of valve on your bike tire. There are two main types: Presta and Schrader. The former are narrow and have a locknut, while the latter are wider with a pin in the center. Make sure your pump is compatible with your valve type, or use an adapter if necessary.
Follow these steps to use your pressure gauge bike pump:
- Remove the dust cap from the valve and, if necessary, unscrew the locknut on a Presta valve.
- Attach the pump’s nozzle to the valve. Ensure a secure connection to prevent air leaks. For Presta valves, the nozzle should engage the locknut, and for Schrader valves, it should depress the pin in the center.
- Begin pumping air into the tire. Observe the pressure gauge closely as you pump, stopping when it reaches the desired pressure.
- Detach the pump nozzle swiftly to minimize air loss. For Presta valves, tighten the locknut immediately after removing the nozzle. Then, replace the dust cap on the valve.
If the pump’s pressure gauge isn’t displaying the right pressure, it could be due to a few reasons:
- Incorrect attachment to the valve, which causes inaccurate readings or air leaks
- Malfunctioning gauge, requiring calibration or replacement
- Air leaks in the tire itself, leading to inaccurate pressure readings
Addressing these potential issues will help ensure that your pressure gauge bike pump provides accurate readings every time.
Understanding Different Types of Bike Pumps
There are various types of bike pumps available on the market, each with its advantages and drawbacks. Understanding the differences can help you choose the right pump for your needs.
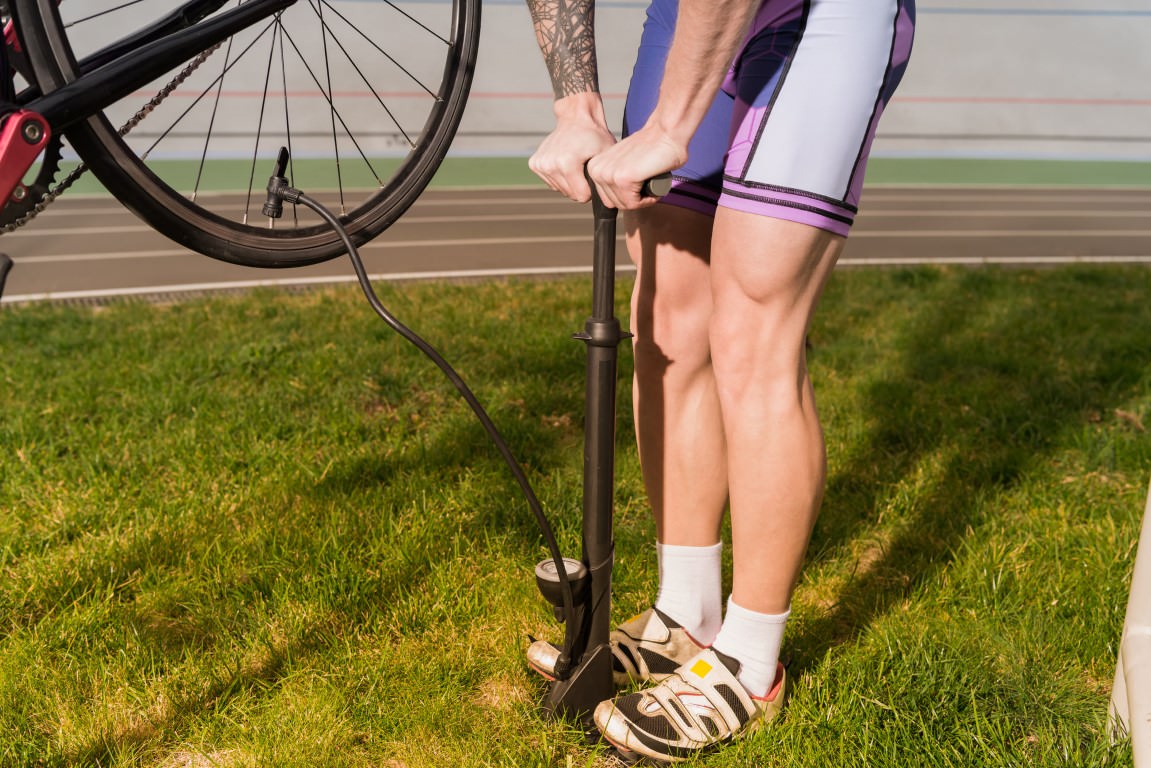
- Floor Pumps: Floor pumps are the most common type of bike pump and offer high air volume and pressure. They usually come with a pressure gauge and are ideal for home use. However, their size makes them less portable than other types of pumps.
- Mini Pumps: Mini pumps are small, lightweight, and portable, making them perfect for on-the-go use. They often attach to your bike frame for easy access during rides. However, they may require more effort to achieve the desired tire pressure due to their smaller size.
- CO2 Inflators: CO2 inflators use compressed CO2 cartridges to quickly inflate a tire. They are compact, lightweight, and easy to use. However, they may not be suitable for regular use due to the cost of replacement cartridges and the potential environmental impact.
- Shock Pumps: Shock pumps are designed specifically for inflating suspension components on mountain bikes. They provide high-pressure, low-volume air and usually include a pressure gauge for precise adjustments. These pumps are not suitable for inflating tires.
By understanding the various types of bike pumps and their specific uses, you can make an informed decision about which pump is best for your needs. Regardless of the pump type, proper maintenance and understanding common issues will ensure accurate pressure readings and optimal performance.
Maintaining Your Bike Pump for Optimal Performance
Taking good care of your bike pump will not only ensure its longevity but also maintain its accuracy in pressure readings. Follow these maintenance tips to keep your bike pump in optimal condition:
- Clean the pump regularly: Regularly clean your bike pump, especially the pump head and hose, to remove any dirt or debris that could obstruct the airflow or damage the seals. Use a soft brush or cloth to clean the pump and its components gently.
- Lubricate moving parts: Apply a few drops of silicone-based lubricant to the pump’s moving parts, such as the plunger and seals, to keep them functioning smoothly. Avoid using oil-based lubricants, as they can attract dirt and grime.
- Inspect for wear and tear: Regularly check your bike pump for any signs of wear and tear, particularly in the hose, seals, and valve head. Replace any damaged or worn components as needed to maintain proper functioning.
- Calibrate the pressure gauge: Periodically calibrate your bike pump’s pressure gauge with a separate, known-accurate gauge to ensure the readings remain accurate. If the gauge is consistently off, consider replacing it.
- Store the pump properly: When not in use, store your bike pump in a cool, dry place away from direct sunlight and extreme temperatures. This will help protect the pump’s components from damage and prolong its life.
